I’ve been fascinated by Cyanotype photographs since I first saw one. Twenty five odd years ago, I used to be a member of Cambridge Camera Club, and I decided it was an area of photography I’d like to explore further. I started by buying Mike Ware’s book on the subject, which is long out of print, but you can download a revised and expanded PDF version for free from his website. After devouring that, I was given the Fotospeed Cyanotype kit as a present, so I bought their contact printing frame, some paper and a fancy Japanese brush. I was ready to start…
Which I didn’t, obviously. I think I got hung up on two things, I wanted to use negatives from my large 10”x8” pinhole camera, and I needed to source some thin mylar to protect those negatives from the treated paper during exposure. That last step was mentioned in Mike’s book, but I never did get round to finding a supplier. I also never got passed making large format negatives either, which wasn’t for lack of trying.
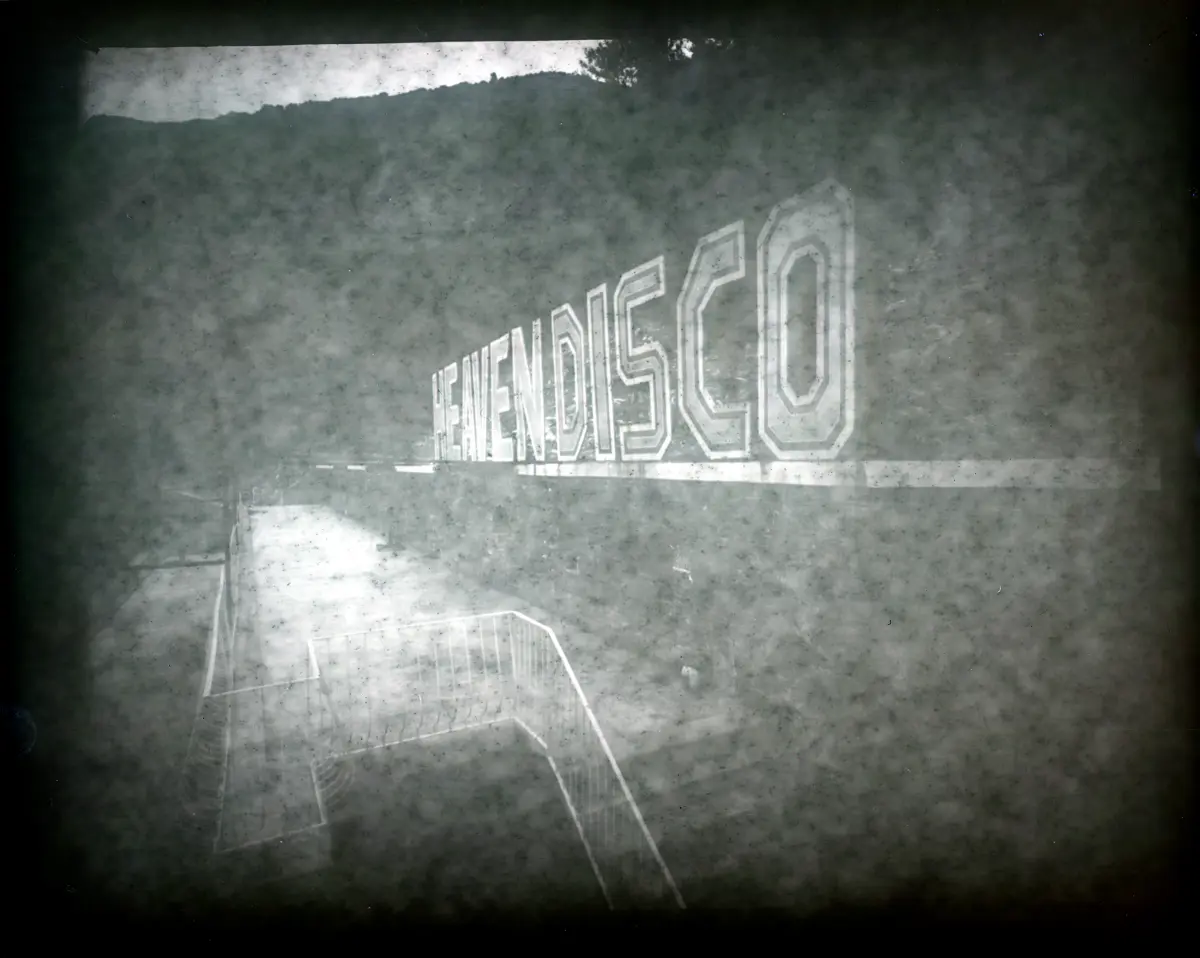
On a holiday to Ölüdeniz in Turkey, way back in late 2006, I took a whole packet of 10"x8" negatives1 with me. There was an abandoned nightclub just outside town, which should have made for some interesting shots, but as you can see, they came out really blotchy. I have no idea why this happened, if it was something to do with the exposure, the two trips through airport x-ray machines, or the subsequent development at home.
Fast forward to 2023 and I suddenly got the itch to start making pinhole photographs again. I really wanted to build my own camera, but in the end bought a ONDU 4x5" Large Format RISE, which is lovely; and way better than anything I’d have managed to cobble together. I also picked up a load of dark slides from eBay, for a total bargain price, bought some film and started taking photos again.
Christmas came, and I was given some more Fotospeed Cyanotype Sensitiser, along with some Fotospeed Digital Contact Film. In addition to all that, I bought some fancy accessories to help me digitise the negatives so I could print them on the digital contact film. The only issue was that I don’t own a digital camera, other than the one in my phone, which happens to have a shiny metallic strip running along the camera bump. So all photos of the negatives have this really annoying reflection in them, and are totally unusable.
There is a solution, but it’s just a total faff. The main issue is having to learn how to process digital negatives in readiness for printing. I’ve always shied away from doing digital photography due to the need for post processing on a computer. I sit in front of a computer all day for my job, I don’t want to spend my free time sitting in front of one too. So quite predictably, everything got put back into the cupboard and forgotten about.
I’m a bit of a cyclist, but had yet another nasty crash in August last year, it resulted in yet another concussion. I hadn’t recovered sufficiently in time for an event that October, that is demanding enough that it warrants you being in tip top condition, both mentally and physically; especially if you want to get round in one go. Instead, I decided to see if I could build a UV hood, which would then enable me to try and contact print one of my 5"x4" negatives. It wouldn’t be a 10"x8" print, but it would be a start, and any print is better than no print. As the saying goes, the hardest part of any journey, is the first step, or in this case, the hardest cyanotype to make, is the first.
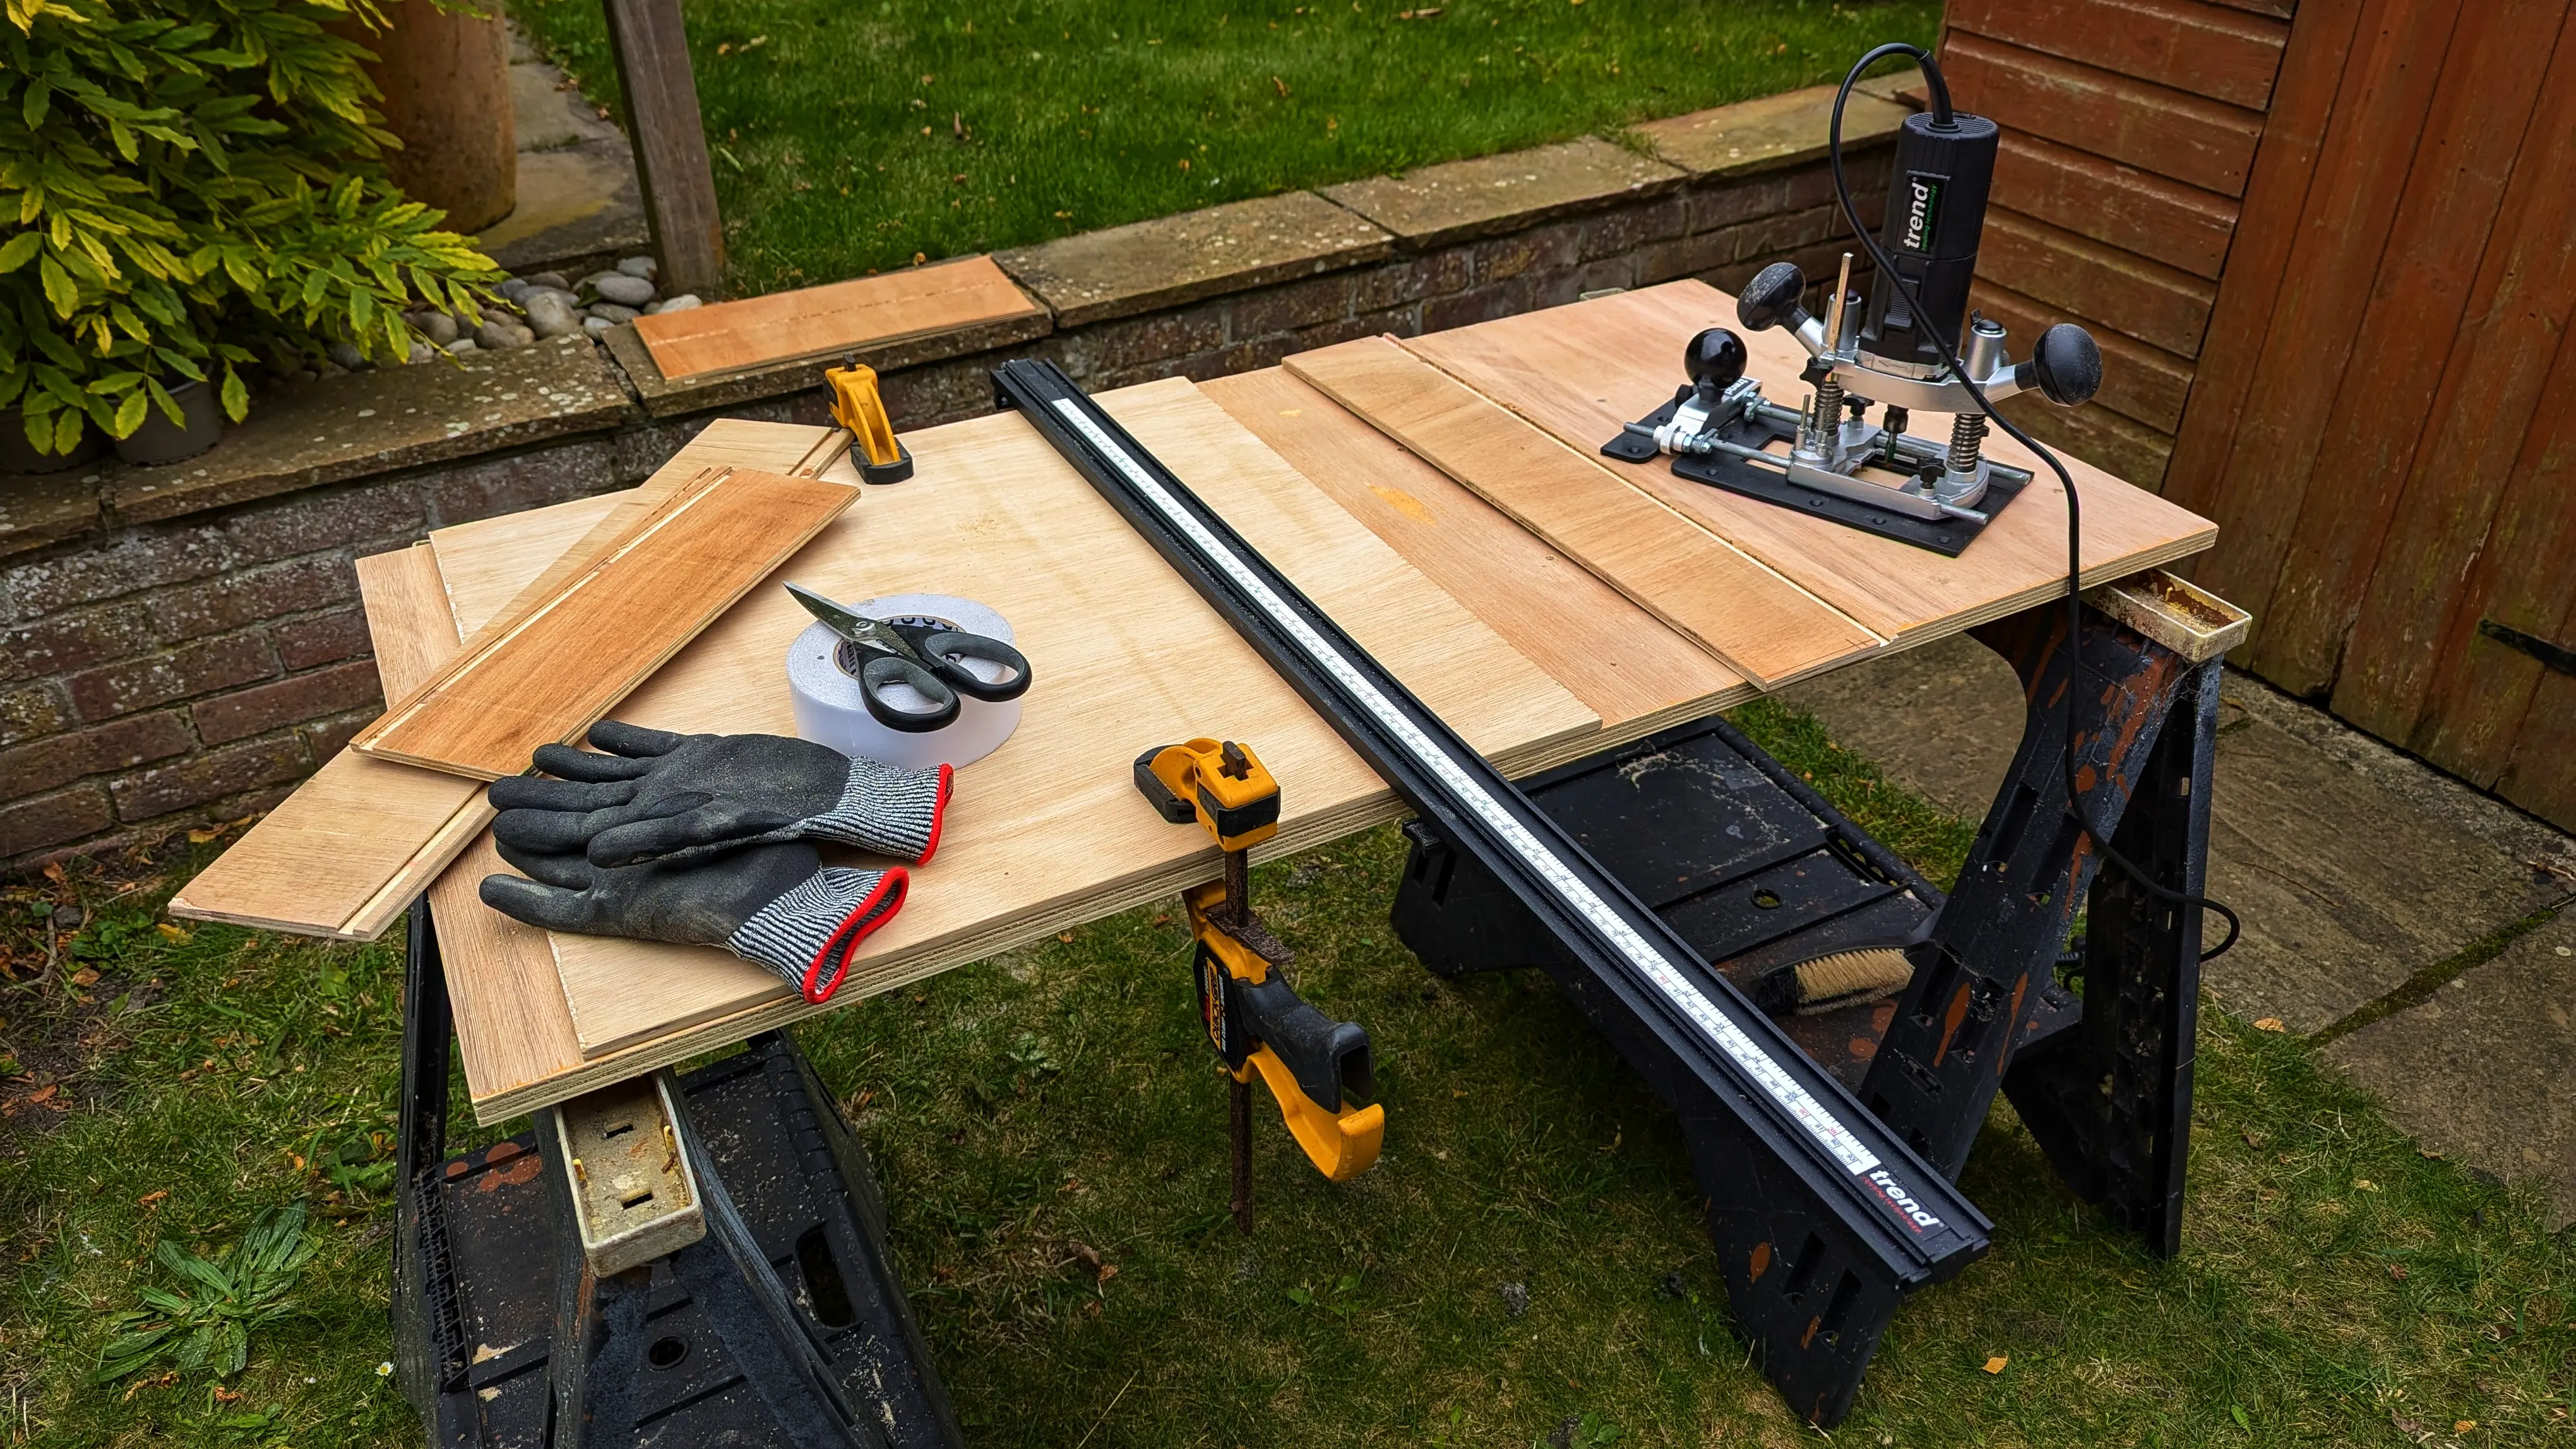
I bought some wood from B&Q, ordered some UV tubes and assorted accessories online and set to it. The plan had been to dovetail the sides, but that would’ve required buying a specialist router jig. I then wanted to mitre joint them, but have no way to cut the wood to a 45° angle; yes my ancient jigsaw tilts, but as it can barely cut a straight line along a straight edge, I wasn’t about to trust it with an angle as well. I routered a rebate into the side panels, so the top would be held securely.
All the cuts were slightly wonky, even after trying to sand everything straight. This meant that there wasn’t enough wood for any fancy jointing techniques, so I just closed my eyes, glued everything together and hoped for the best. As I didn’t own, nor do today, any sort of clamp big enough to hold any of it together, I had to make do with a couple of straps and a bag of Postcrete to weigh it down. It’s still together, although it aesthetically displeases me everytime I happen to see it.
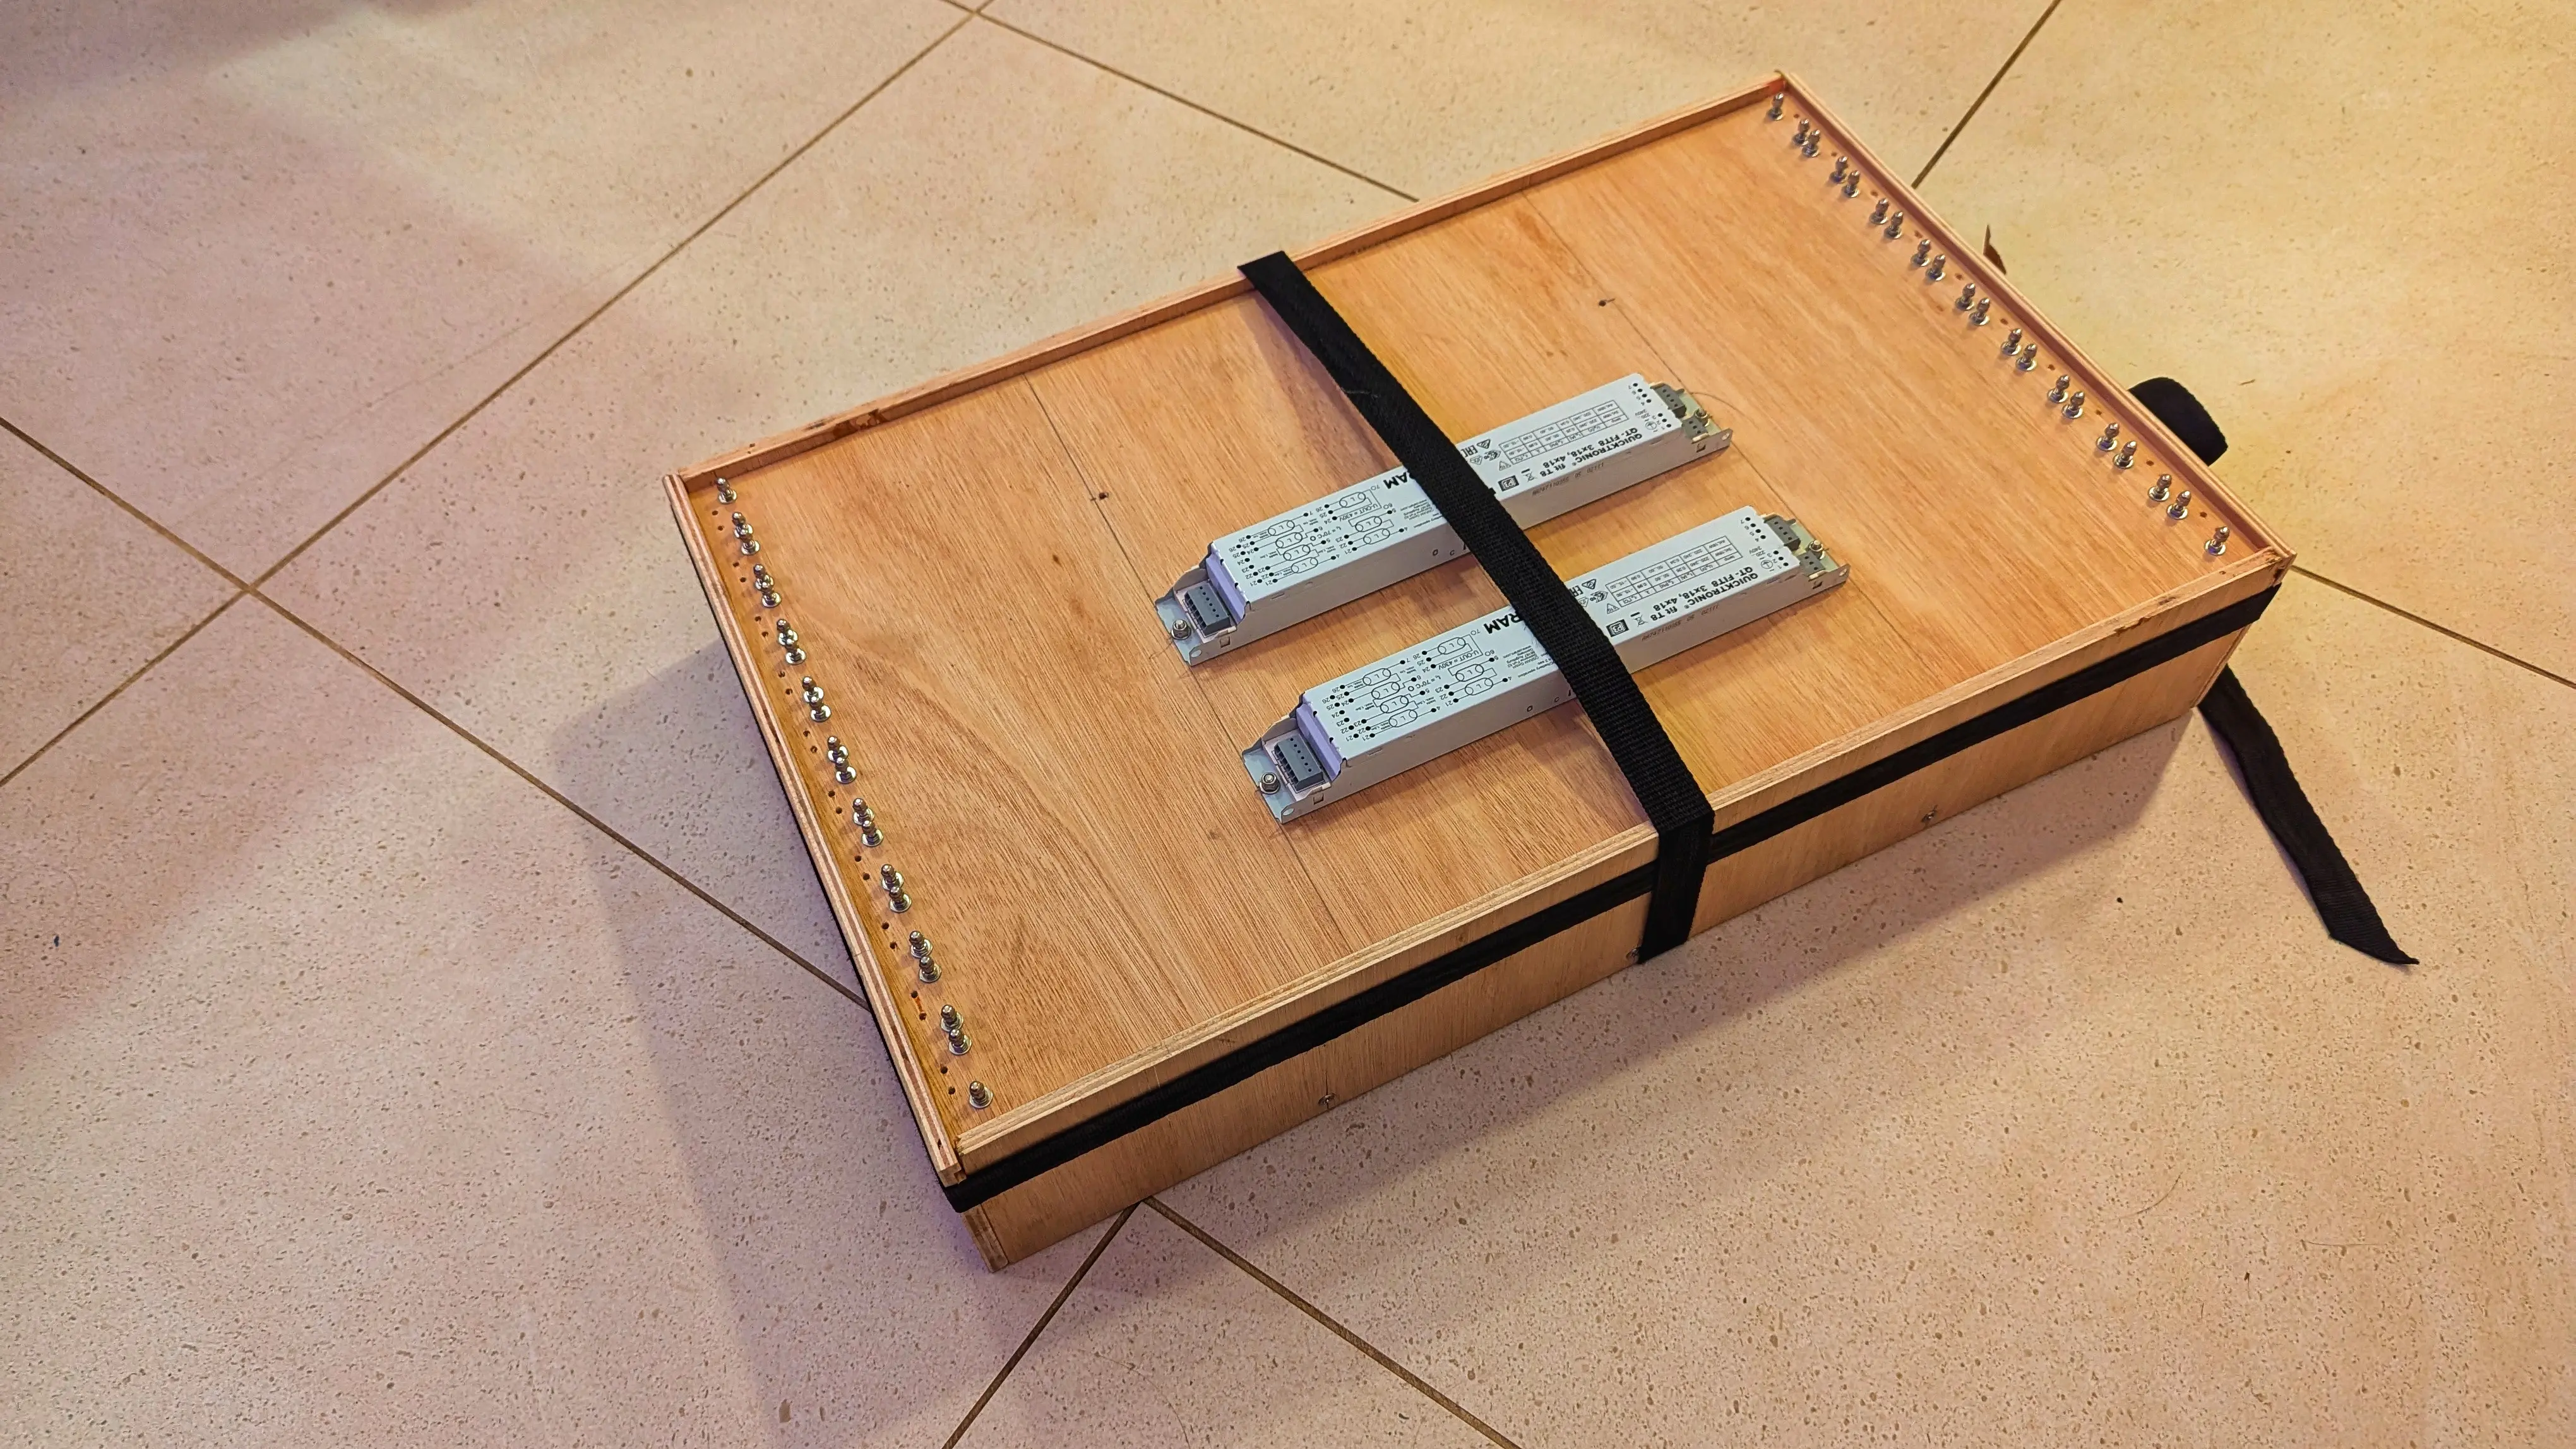
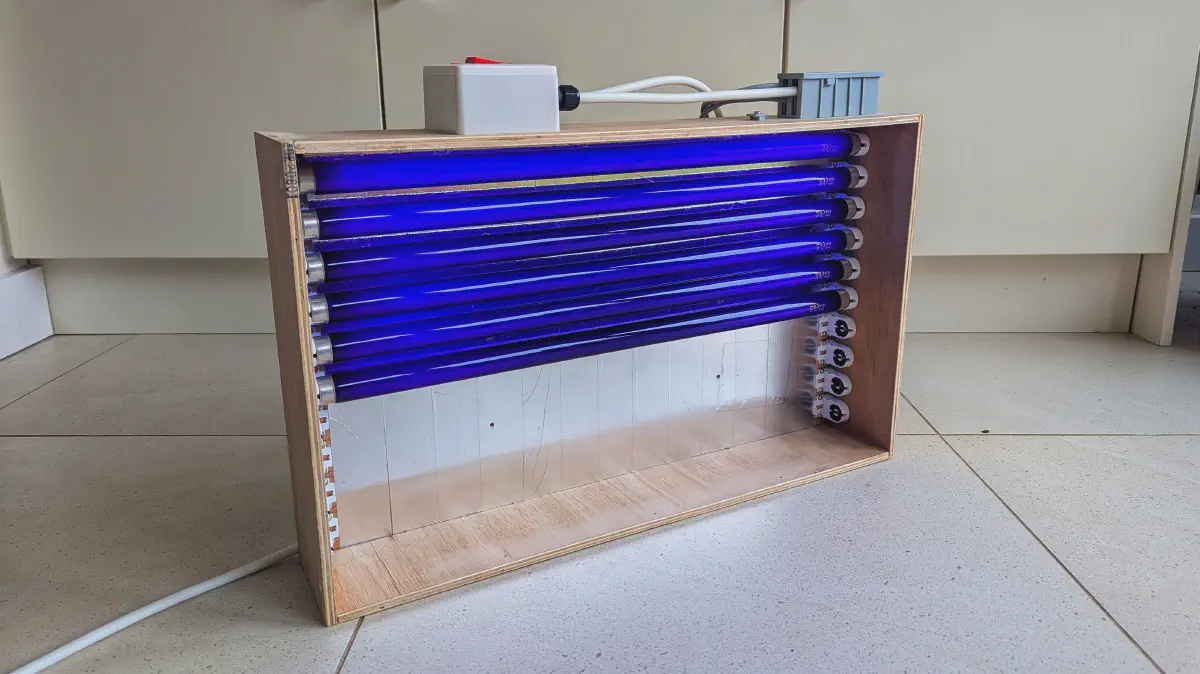
Next was wiring all the UV tubes into the ballasts, and for some reason that I can’t remember, I decided not to use any lighting battens, which would have made the process much easier. The reason was probably cost and the resulting bulk and weight of the extra internal height that would have been required. Either way, I wouldn’t recommend doing it this way, as it was a royal pain in the bum to get appropriately short bits of single core wire into the tiny wee holes in the tube holders, through equally tiny holes in the wooden top.
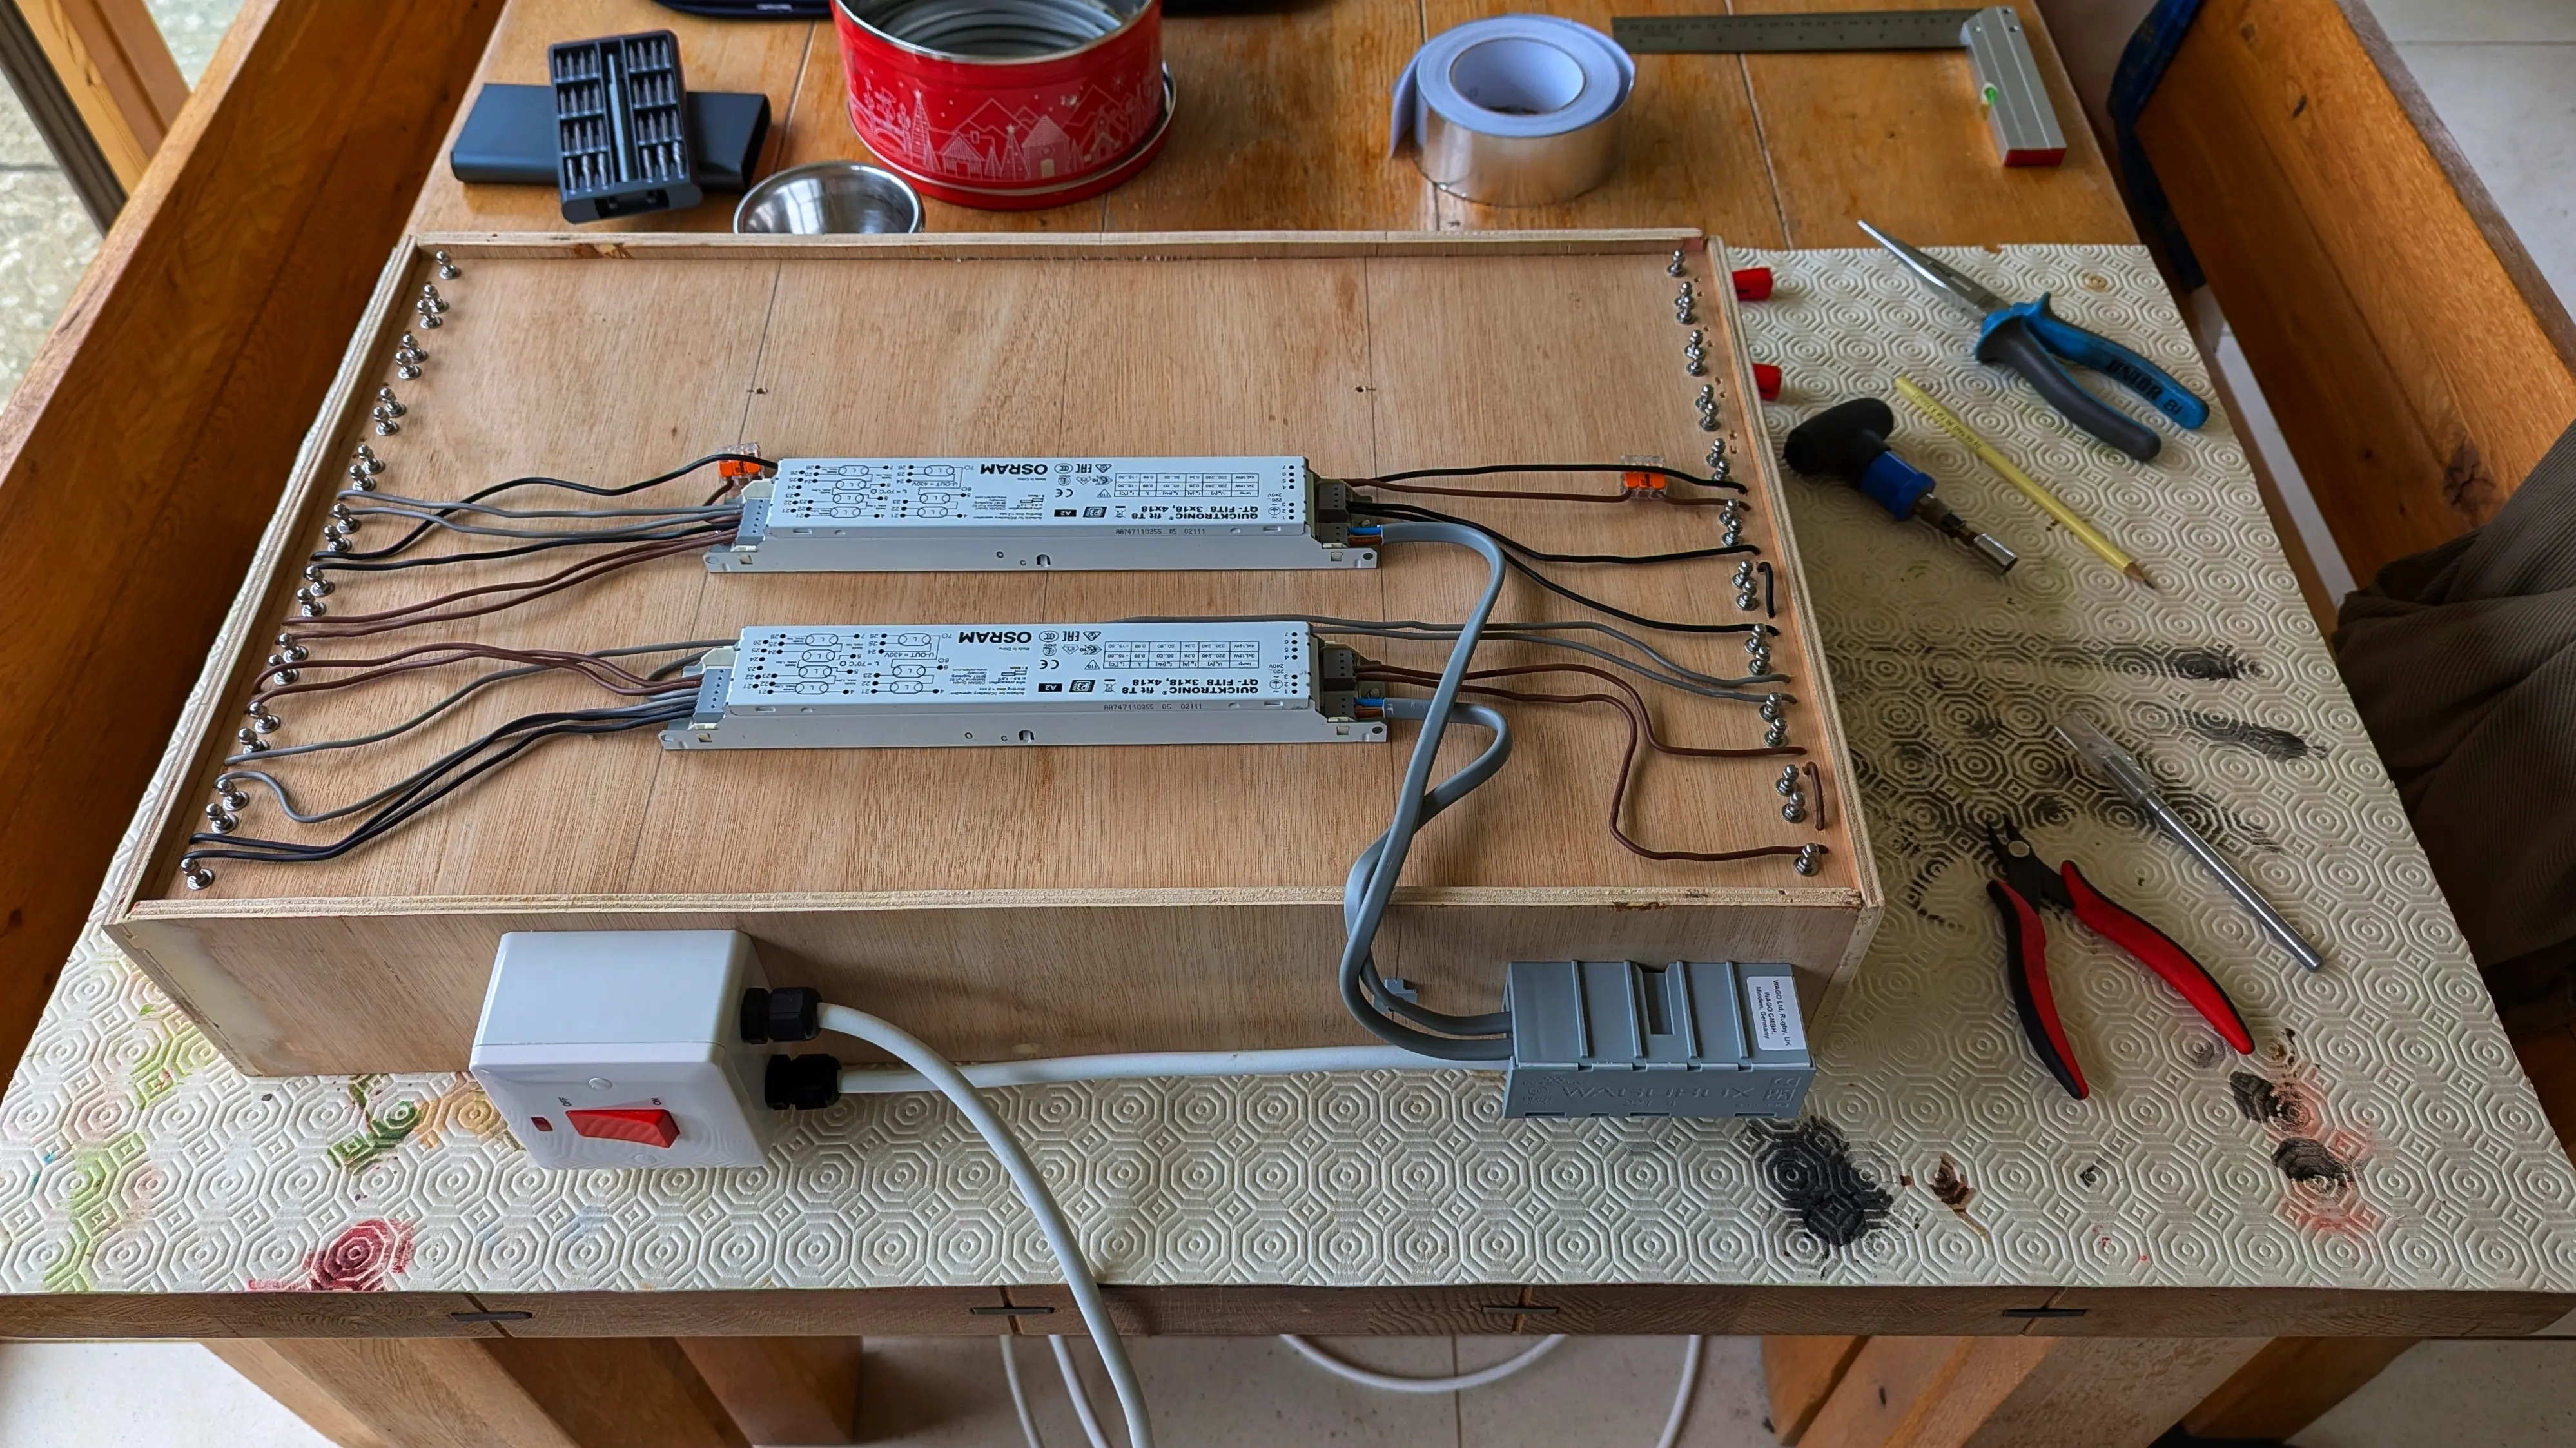
Get them in we did though, and all the tubes illuminated when the switch was thrown for the first time. So you’d think that the last photo in this article would be of my first cyanotype print, but of course, I’ve yet to make one. Looks like I’m still searching for some really thin mylar… 🤦
Here’s a quick video showing it working:
1 I can’t remember off hand what brand and type they were, they’re inaccessible at the moment due to my latest hobby. I do know that they were some sort of Ortho copy film that’s no longer available, which was supposed to be ideal for alternate process contact printing.